Document Upload Guide
Upload PDF, Word, and text documents to train your AI receptionist with your business information. Your AI can reference these documents during customer conversations to provide accurate information.Prerequisites
- Active Welco account with knowledge training access
- Business documents ready for upload (PDF, DOCX, TXT, DOC, HTML, EPUB)
Accessing Document Upload
- Log into your Welco dashboard
- Navigate to Knowledge Training
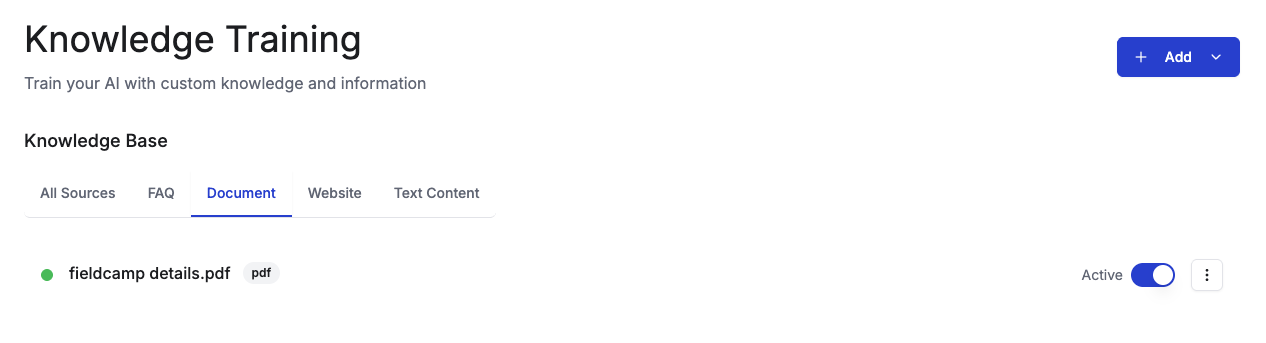
- Click Knowledge Training in the left sidebar under “Configuration”
- You’ll see the knowledge base management interface
Uploading Documents

Step 1: Open the Upload Dialog
- Click the + Add button in the top-right corner of the knowledge base section
- Select Upload Documents from the dropdown menu
- The “Upload Document” dialog will open
Step 2: Select Your Document
Using File Browser:- Click Click to upload in the upload area
- Browse and select your document file
- The selected file name will display in the upload area
- Drag your document file from your computer
- Drop it directly onto the upload area
- The file will be automatically selected
Step 3: Complete Upload
- Review the selected file name to ensure it’s correct
- Click Upload Document to process and save
- The dialog will close and your document will appear in the knowledge base
Supported File Formats
Document Types:- PDF (.pdf) - Adobe PDF documents
- Word Documents (.doc, .docx) - Microsoft Word files
- Text Files (.txt) - Plain text documents
- HTML (.html) - Web page documents
- EPUB (.epub) - E-book documents
Document Processing
Upload Process:- File is uploaded to secure cloud storage
- Document content is extracted and processed
- Information becomes available to your AI receptionist
- Document appears in your knowledge base list
Managing Uploaded Documents
View Documents: All uploaded files appear in the “Documents” tab or “All Sources” view Toggle Active/Inactive: Use the switch to enable or disable documents without deleting Download: Click the options menu (⋮) next to any document and select “Download” Delete Document: Use the options menu to permanently remove documentsNext Steps
After uploading documents:- Test your AI receptionist to verify it can access document information
- Upload additional documents as needed
- Add other content types like text content or websites
- Monitor document usage and update files when business information changes