Your First AI Receptionist - 5-Minute Setup
Welcome to Welco! In just 5 minutes, you’ll have a fully functional AI receptionist answering calls for your business. This tutorial covers the essential steps to get you operational quickly.What You’ll Accomplish: By the end of this tutorial, your AI will be able to answer calls, provide basic business information, and handle common inquiries professionally.
Step 1: Complete Your Account Setup (1 minute)
If you haven’t signed up yet, start athttps://app.welco.ai/signup.
Quick Account Creation
- Enter your name, email, and password
- Verify your email address
- Add your payment method for the free trial
- Complete the business profile form
Step 2: Get Your Phone Number (1 minute)
Your AI receptionist needs a phone number to answer calls.
Choose Your Option
Option A: Get a New Number- Go to Phone Numbers in your dashboard
- Click Purchase New Number
- Select your preferred area code and number
- Click Purchase - your number is active immediately
- Click Import Existing Number
- Enter your current business phone number
- Follow the porting instructions (this may take longer than 5 minutes)
Recommendation: For this quick setup, choose Option A to get started immediately. You can always port your existing number later.
Step 3: Configure Your AI Personality (2 minutes)
Now let’s teach your AI how to represent your business.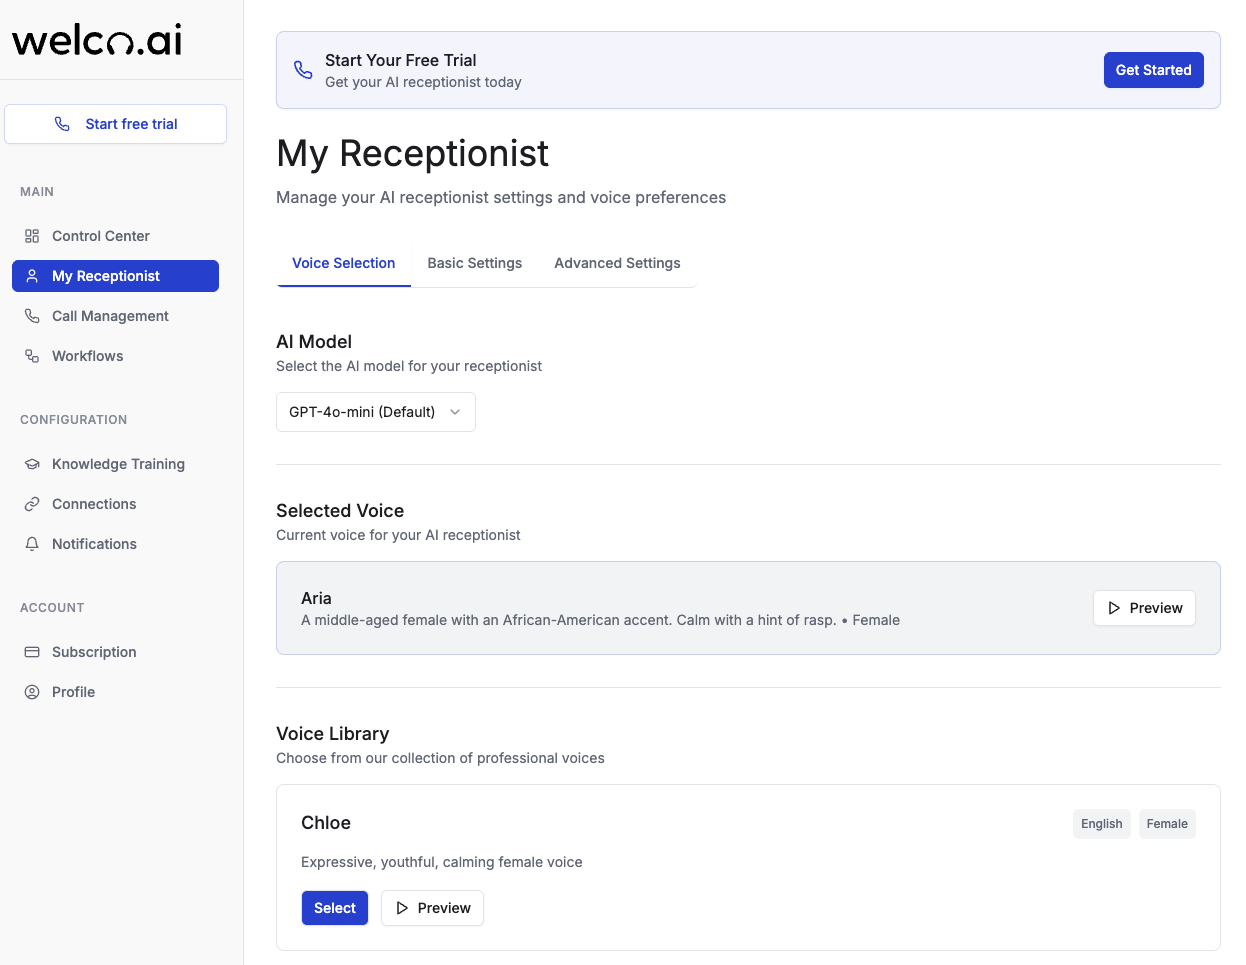
Set Your Business Context
- Navigate to My Receptionist
- Go to Voice & Personality
- Select Voice: Choose from available voice options
- Language: Select your primary language
Add Essential Business Information
In the Prompt section, add this basic template:Important: Replace the bracketed items with your actual business information. This gives your AI the essential context needed to help callers.
Step 4: Add Quick Knowledge (1 minute)
Give your AI some basic information to answer common questions.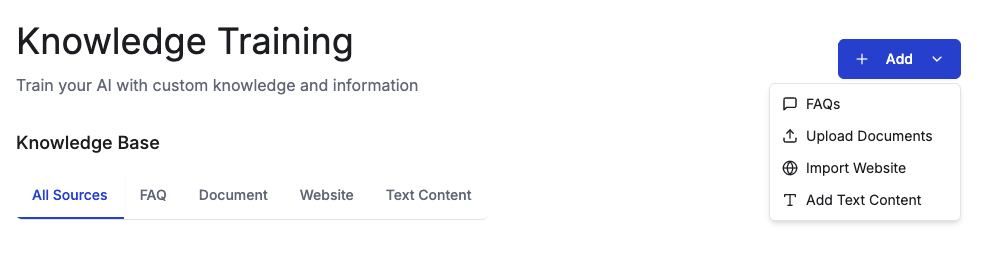
Essential Knowledge to Add
- Go to Knowledge Training
- Click Add Knowledge
- Add these quick entries:
Step 5: Test Your AI Receptionist (30 seconds)
Time to make sure everything works!Quick Test Call
- Go to your Dashboard
- Find your new phone number
- Call it from your personal phone
- Have a brief conversation with your AI
What to Test
- Does the AI answer promptly?
- Does it sound natural and professional?
- Can it provide your business hours and location?
- Does it offer to transfer calls appropriately?
Expected Behavior: Your AI should greet callers, identify your business, ask how it can help, and provide basic information you’ve configured.
You’re Live! 🎉
Congratulations! Your AI receptionist is now operational and ready to handle real calls.What Your AI Can Do Right Now
✅ Answer calls professionally with your chosen voice and tone ✅ Provide business information like hours, location, and services ✅ Handle basic inquiries using the knowledge you’ve added ✅ Offer call transfers for complex requests ✅ Take messages when neededWhat Happens Next
- Your AI will answer all calls to your Welco number
- You’ll receive notifications when calls come in (if enabled)
- Call logs and analytics will start appearing in your dashboard
- The AI will learn and improve from interactions
Common First-Call Issues & Quick Fixes
AI Sounds Too Robotic
Quick Fix: Go to Voice & Personality and try a different voice model or adjust the speaking speed.AI Doesn’t Know Basic Business Info
Quick Fix: Check your Prompt section and ensure you’ve filled in all the bracketed business information.Calls Aren’t Coming Through
Quick Fix: Verify your phone number is active in Phone Numbers section and test by calling from a different phone.Next Steps to Improve Your AI
Now that you’re operational, here’s how to make your AI even better:- Add More Knowledge - Expand your knowledge base with FAQ content
- Set Up Notifications - Get alerts when calls come in
- Configure Business Hours - Set up after-hours handling